🎥 Deploying Jitsi Meet via SaveInCloud Marketplace
This guide presents the process of deploying Jitsi Meet through the SaveInCloud Marketplace, where the application is provisioned in a Docker container stack. It also describes the steps for domain configuration and SSL issuance via the Domain Configuration add-on.
🚀 Deployment Step-by-Step
- Access the SaveInCloud Panel and open the Marketplace.

- Locate and select Jitsi Video Conferencing (Jitsi Meet).
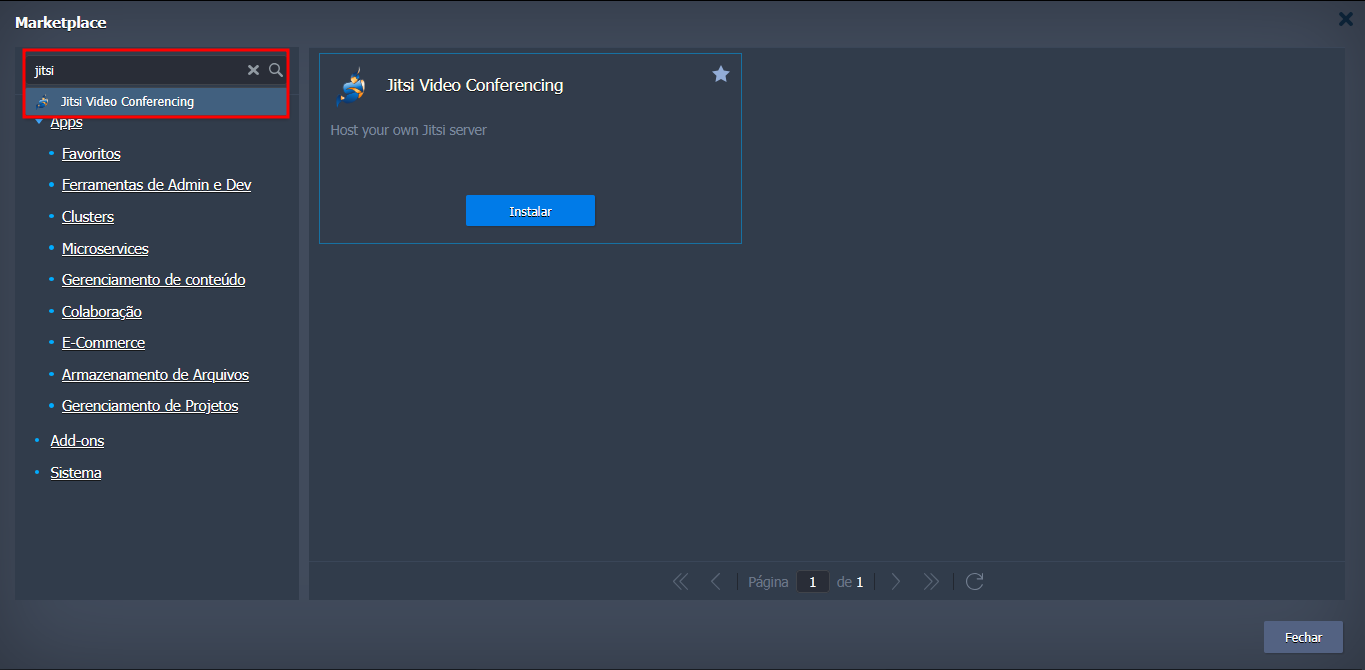
- Click Install.
- Fill in the basic options:
- Environment Name (technical name).
- Display Name (name shown in the panel).
- Region (desired datacenter).
- Click Install and wait for provisioning to complete.
🐳 Provisioned Structure (Docker)
After deployment, Jitsi Meet is delivered as a set of Docker containers that make up the environment:

- jitsi/web → main web interface (port 80/443).
- jitsi/prosody → XMPP server (signaling).
- jitsi/jicofo → conference coordination.
- jitsi/jvb → Jitsi Videobridge (audio and video traffic).
- jitsi/jibri → recording and streaming.
🌐 Domain and SSL Configuration
Unlike Apache-based instances, Jitsi via Docker uses the Domain Configuration add-on:
- In the instance panel, open Domain Configuration.
- Click Change and enter the domain already pointed in DNS (A record or CNAME).
- After applying, click Update SSL to generate the Let's Encrypt certificate.
- Access Jitsi Meet at the address
https://seudominio.
⚠️ The domain must be properly propagated in DNS before requesting SSL.
🔐 Credentials and Access
- A temporary address is generated by the platform after deployment.
- Moderator credentials are sent to the registered email.
✅ Best Practices
- Configure the domain before issuing SSL.
- Monitor containers with
docker logsto identify failures. - In high-demand environments, evaluate additional CPU/RAM requirements for the
jibricontainer (recording/streaming). - Choose the datacenter region closest to end users to reduce latency.
🛠️ Troubleshooting
❌ Cannot access the web interface
- Check if the
webcontainer is active. - Ensure ports 80/443 are open.
❌ SSL generation error
- Confirm the domain is correctly pointed to the instance.
- Wait for DNS propagation and try again with Update SSL.