🔒 Installing Fail2Ban
⚠️ All configurations shown in this manual are simple and hypothetical examples. Adaptations may be necessary depending on the topology and structure of your environment.
This guide shows how to install the Fail2Ban Addon on instances.
📌 What is Fail2ban?
Fail2ban is an open-source security tool designed to protect servers against brute force attacks and malicious access.
It works by monitoring service logs (such as SSH, Apache, Nginx, PostgreSQL, among others) for invalid login attempts or suspicious behavior.
When it detects multiple authentication failures within a short period, Fail2ban applies temporary blocking rules on the firewall (iptables/nftables), preventing the offending IP from continuing to attempt access to the service.
🔑 Main features:
- Protection against brute force on critical services (SSH, FTP, databases, web servers).
- Flexible configuration of filters and jails for different applications.
- Temporary or permanent blocking of malicious IPs.
- Integration with firewalls and email notifications.
On SaveinCloud, Fail2ban can be used to enhance the security layer of environments, preventing unauthorized access and reducing the risk of automated attacks against your applications and servers.
🚀 Installing Fail2Ban
Fail2Ban installation is done directly through the platform, on one of the instances that offers the addon:
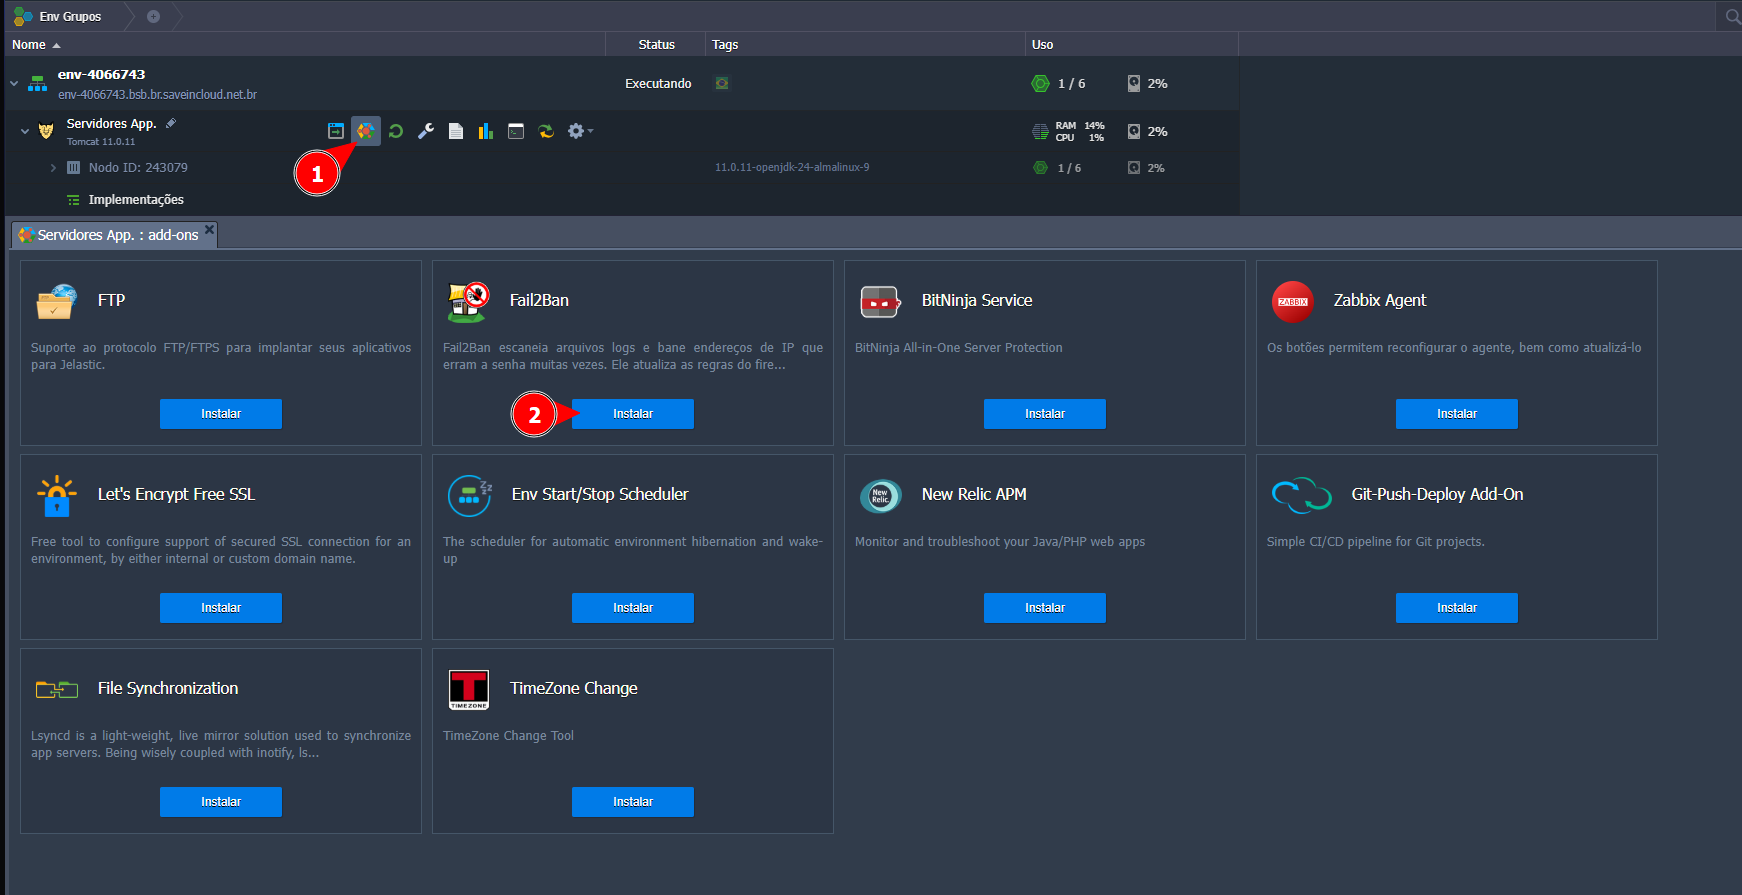
⚙️ Configuring Fail2Ban
After selecting "Install," a window will appear to proceed with the Fail2Ban installation:
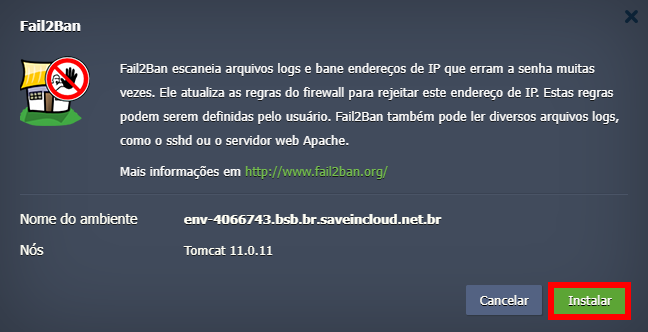
Once done, the addon will be successfully installed on the desired instance. For additional configurations, we recommend reading the official tool documentation:
https://github.com/fail2ban/fail2ban/blob/master/README.md