Restoring Backups on Nuvion
Data restoration on Nuvion is performed through Recovery Points. Each point represents a complete and external "snapshot" of your data at a specific moment in time.
Locating the Backup
To start the recovery process, follow the steps below:
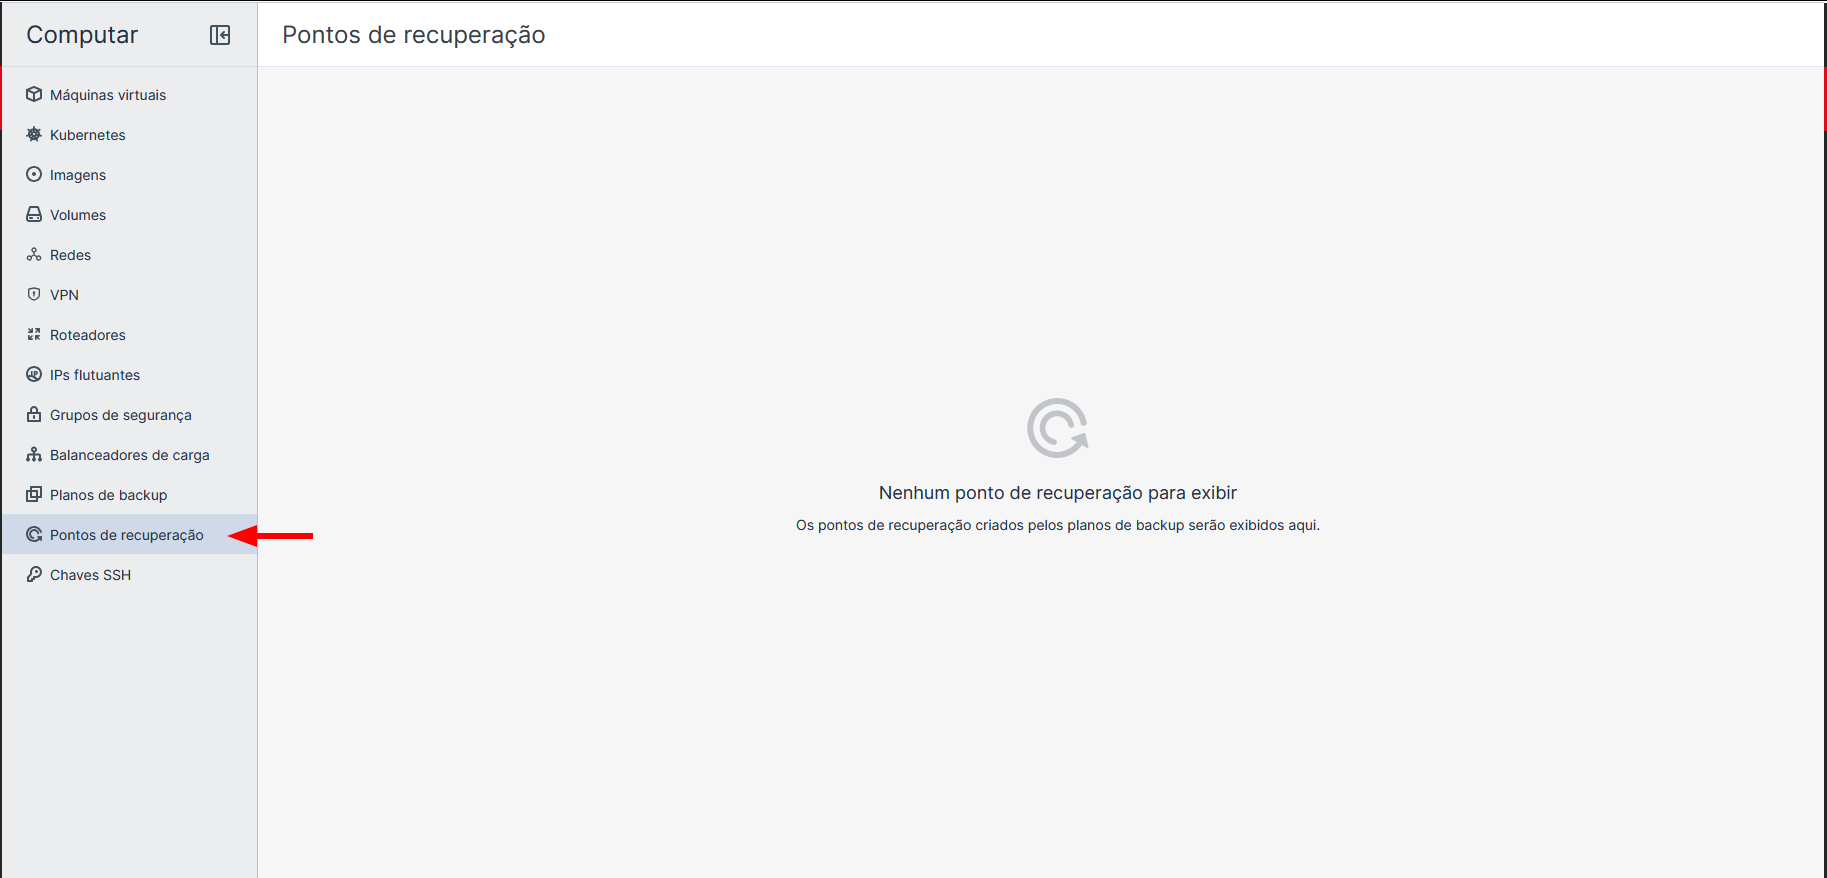
- In the platform's side menu, go to the
Pontos de Recuperaçãosection. - Locate the Virtual Machine (VM) you want to restore in the displayed list.
- Click on the machine name to expand all available backups (recovery points) for it.
Restoration Process
After choosing the desired date and time for recovery, you must define how the data will be returned to the environment:
1. Selecting the Point
Identify the correct backup and click the Restore button next to the record.
2. Recovery Options
The system will offer two main ways to restore the content:
- Restore to Original VM: This option replaces the current machine disks with the disks contained in the backup.
Attention: When restoring over the original VM, the machine must be powered off. Remember that all data written after the selected backup date will be lost.
- Create New VM: This option launches a completely independent new instance based on the selected backup.
This is the best practice for selective file recovery. You launch a new VM in parallel, copy only the files the client needs, and then remove the temporary VM without affecting the production environment.
Best Restoration Practices
- Validation: Before performing a destructive restoration (over the original), always try to launch a new VM to ensure the backup does not have system corruptions.
- Disk Space: Make sure your resource quota has available space if you choose to create a new VM from the backup.
Restoration time may vary depending on the size of the volumes and the amount of data to be transferred from the external backup storage to the production storage.